Your Roti Is Talking to You — Are You Listening?
Every home cook has had that moment. You've rolled it out perfectly, it looks great on the tawa, and then — tear. Or it puffs on one side and stays flat on the other. Or it comes off the heat tasting more like a cracker than the soft, pillowy roti you were aiming for.
Here's the thing: none of that is random. Your dough is giving you real, readable feedback, and once you know what to look for, troubleshooting roti becomes a lot less frustrating and a lot more intuitive.
It Starts With the Flour — And No, Not All Atta Is the Same
Most South Asian home cooks reach for whole wheat atta, and for good reason. Traditional chakki-ground atta has a fine, almost silky texture that behaves very differently from the coarser whole wheat flour sitting on the shelves at your average American grocery store.
American whole wheat flour has a higher bran content and a coarser grind. That bran acts like tiny little razors in your dough — it literally cuts gluten strands as they form, which is a big reason your roti tears. If you're using a generic American whole wheat and wondering why your results never match your mom's, this is probably part of the answer.
If you can get to an Indian grocery store, grab a bag of atta specifically labeled for chapati. Brands like Aashirvaad, Pillsbury Chakki Fresh, or Deep are widely available across the US and will make a noticeable difference right away. If you're working with what you have at home, you can blend all-purpose flour into your whole wheat at roughly a 1:3 ratio to soften the texture and give gluten a better chance to develop.
The Water Ratio Is More Art Than Math
Recipes will give you measurements, and those measurements are a starting point — not a rule. Flour absorbs water differently depending on the brand, how long the bag has been open, and even the humidity in your kitchen. A dough that's perfectly hydrated in Phoenix in January might be too wet in Miami in August.
What you're looking for is a dough that feels soft without being sticky — something close to the texture of an earlobe, if that reference makes any sense. It should give when you press it without bouncing back aggressively, and it shouldn't stick to your palm when you pull your hand away.
If your roti is tearing, there's a good chance your dough is too dry. Add water a tablespoon at a time and knead it back in. If it's spreading too fast when you roll it and the edges are cracking, same problem. Dry dough = weak gluten = tears.
On the flip side, dough that's too wet will stick to your rolling pin and board, and the roti will puff unevenly because the steam has no structure to push against.
Gluten Needs Time — Give It Some
This is the step that most people skip, and it's probably the most important one. After you've mixed and kneaded your dough, it needs to rest. Not five minutes. At least twenty, and thirty is better.
During that rest period, the gluten network that you've built through kneading relaxes. This does two things: it makes the dough easier to roll (less springback when you press the rolling pin) and it makes the final roti more pliable instead of stiff.
Cover the dough with a damp cloth or plastic wrap — not a dry towel, which will pull moisture from the surface and create a skin that tears when you roll. If you've ever noticed your roti has a rough, uneven surface after rolling, a dried-out skin on the dough is usually the culprit.
Altitude Is Actually a Factor
If you live somewhere like Denver or Salt Lake City, you might notice that your roti recipe works differently than it did when you visited family at sea level. Higher altitude means lower air pressure, which affects how quickly moisture evaporates from your dough and how the steam inside your roti behaves on the tawa.
At altitude, you generally need slightly more water in your dough because it dries out faster during both preparation and cooking. You may also need to cook your roti at a slightly lower heat to give the inside time to cook through before the outside gets too dry. It's a small adjustment, but it matters.
The Tawa Temperature Problem
Even perfect dough will produce bad roti on the wrong surface at the wrong temperature. Your tawa needs to be hot — genuinely hot — before the first roti goes on. A common test: flick a few drops of water onto the surface. They should evaporate almost instantly.
If the pan isn't hot enough, the roti sits too long on the first side, dries out, and loses the pliability it needs to puff. If it's too hot, the outside chars before the inside is done.
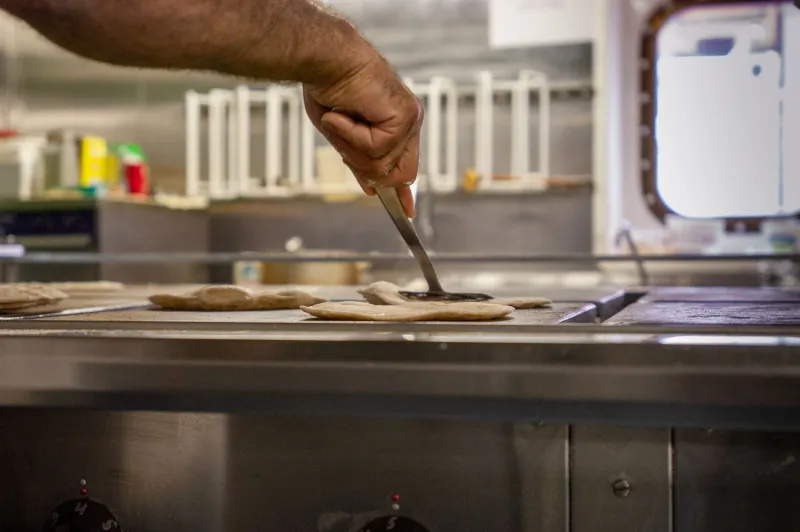
Flip when you see small bubbles forming across the surface — usually about 30 to 45 seconds in. Then flip again and press gently with a folded cloth or spatula to encourage the puff. That puff is steam doing exactly what it's supposed to do: separating the layers and telling you the roti is cooked through.
A Quick Troubleshooting Guide
Roti tears when rolling: Dough too dry, or not rested long enough. Add more water and give it more time.
Roti is stiff and cracker-like: Overworked dough, too little water, or cooked too long on high heat. Try a shorter cook time and more hydration.
Roti won't puff: Pan not hot enough, or roti rolled too thick. Aim for even thickness — about 2mm — and make sure your tawa is properly preheated.
Roti has a rough, uneven surface: Dough dried out during rest. Always cover it while it rests.
Roti tastes flat and dense: Under-kneaded dough. Spend a full 8 to 10 minutes kneading to build the gluten structure you need.
Roti is one of those things that looks deceptively simple until you're the one making it. But once you start reading what the dough is telling you — in how it feels, how it rolls, how it behaves on the pan — it starts to click. And when it does, there's nothing better than pulling a perfectly puffed roti off the tawa and knowing exactly why it worked.