Make It Yours: A Home Cook's Guide to Blending Garam Masala from Scratch
Garam masala is everywhere. It's in the spice aisle at Trader Joe's, at every Indian grocery store from New Jersey to California, and in more recipes than you can count. It's also one of the most misunderstood spice blends in South Asian cooking — partly because the name implies a single, fixed thing when it's actually a category as broad and regional as "Italian seasoning" (which is to say, it means something different to everyone who makes it).
The store-bought version isn't bad. But it's generic by design — formulated to be inoffensive to the widest possible audience, which means it's not quite right for any particular tradition, family, or palate. Making your own garam masala is one of the most impactful things you can do for your South Asian cooking, and it's genuinely not as complicated as it sounds.
What Garam Masala Actually Is
The name translates roughly to "warming spice blend" — garam meaning warm or hot (in the sense of warming the body, not spicy heat) and masala meaning spice mixture. The warming quality comes from spices that Ayurvedic tradition considers heating to the body: cloves, cinnamon, black pepper, cardamom. These are the spices that show up in nearly every version of garam masala regardless of region.
Beyond that core, though, the variations are significant. A Punjabi garam masala might lean heavily on cumin and coriander. A Kashmiri blend often includes dried ginger and fennel for a sweeter, more aromatic profile. A Bengali version might be simpler — just cardamom, cloves, and cinnamon, known as the panch phoron cousins. Down south, garam masala is less common altogether, replaced by different spice blends suited to those cooking traditions.
This is worth knowing because it means there's no "correct" garam masala. There's only the one that's right for the dish you're making and the tradition you're cooking from.
Why Store-Bought Falls Short
Commercial garam masala has two main problems: it's old, and it's anonymous.
Spices lose potency over time. The volatile oils that carry flavor and aroma start to degrade as soon as a spice is ground. A jar that's been sitting on a shelf — first at a warehouse, then at a distributor, then at the grocery store — before landing in your pantry may have lost a significant portion of its punch before you ever open it. And once it's open, exposure to air accelerates that process.
The anonymity problem is subtler. A commercial blend is calibrated to taste like a general idea of garam masala. It's not calibrated to taste like your family's food. That gap is small but real, and it's the reason that dishes made with store-bought blends often taste almost-right but not quite.
Start with a Base and Build From There
A solid all-purpose garam masala starts with a handful of whole spices that you'll toast and grind yourself. Here's a starting point that works for North Indian-style cooking:
- 2 tablespoons whole cumin seeds
- 1 tablespoon whole coriander seeds
- 1 teaspoon whole black peppercorns
- 1 teaspoon whole cloves
- 1 teaspoon green cardamom pods (seeds removed from pods)
- One 2-inch cinnamon stick, broken into pieces
- ½ teaspoon whole fennel seeds (optional, for a slightly sweeter profile)
- 2-3 dried bay leaves, crumbled
This gives you something warm and balanced that works across a wide range of dishes. From here, you can start adjusting.
The Toasting Step: Don't Skip It
Toasting whole spices before grinding is the single step that makes the biggest difference in the final result. Heat wakes up the volatile oils in spices, amplifying their aroma and deepening their flavor. Untoasted spices, even fresh ones, taste comparatively flat.
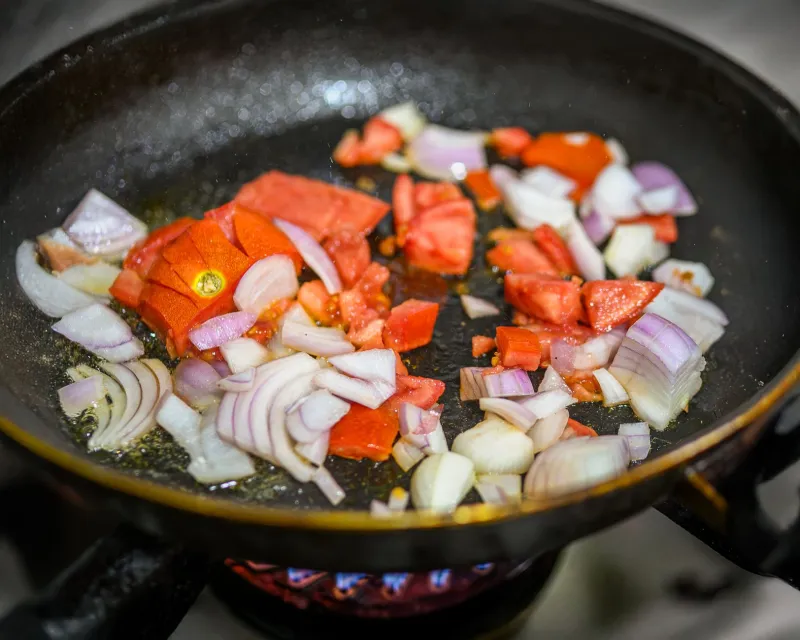
Use a dry skillet over medium-low heat. Add your spices and let them sit, shaking the pan occasionally, until they're fragrant and just beginning to darken — usually two to four minutes. Watch them closely. Burnt spices are bitter and can't be saved. You'll know they're ready when the kitchen smells incredible and the spices look slightly darker than when you started.
Let them cool completely before grinding. Grinding warm spices traps steam in the grinder and produces a paste rather than a powder.
Grinding: Equipment Matters
A dedicated spice grinder (or a coffee grinder reserved exclusively for spices) is the most practical tool for this job. Pulse in short bursts rather than running the grinder continuously — this prevents heat buildup and gives you more control over texture. For garam masala, you want a fine powder with no visible chunks.
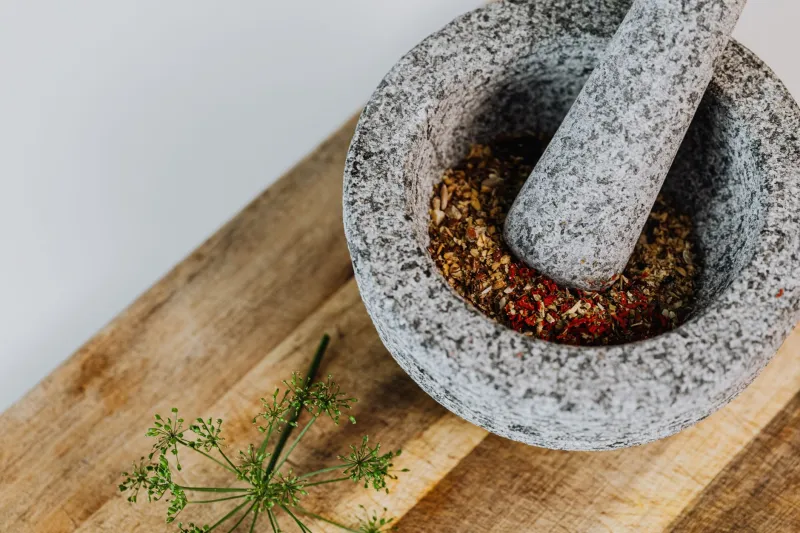
A mortar and pestle works beautifully for small batches and gives you a slightly coarser, more textured result that some cooks prefer. It takes more effort but gives you more control. If you're making a large batch, the electric grinder wins on efficiency.
After grinding, pass the powder through a fine mesh strainer to catch any large pieces that didn't break down fully. Those bits don't add much flavor and can create unpleasant pops of intense spice in your finished dish.
Customizing for Your Tradition
Once you have the basic blend down, start experimenting with adjustments that reflect your background or cooking goals:
For a Kashmiri-style blend: Add ½ teaspoon dried ginger powder and increase the fennel. Reduce the cumin. The result is sweeter and more aromatic, suited to the rich meat dishes of that tradition.
For a more Punjabi profile: Increase the cumin and add a pinch of mace (the outer covering of nutmeg). This is a heartier, more savory blend that stands up well in robust curries and lentil dishes.
For a lighter, more delicate blend: Pull back on the cloves and pepper, and increase the cardamom. This works well in lighter chicken dishes or anywhere you don't want the spice blend to dominate.
For a South Indian-influenced blend: Swap some of the coriander for mustard seeds and add a small amount of curry leaf powder if you can find it. This is unconventional but interesting for fusion applications.
Storage and Shelf Life
Homemade garam masala doesn't last as long as the commercial version — which sounds like a drawback but is actually a sign that it's better. Because it hasn't been processed or treated with anti-caking agents, it stays fresh for about three to four weeks at peak flavor, and remains usable for up to three months.
Store it in an airtight glass jar, away from heat and light. Don't keep it directly above the stove — the humidity and heat from cooking degrade spices faster than almost anything else. A cool, dark cabinet is ideal.
Make small batches rather than large ones. It takes about ten minutes start to finish, so there's no real advantage to making a three-month supply at once.
The Bigger Picture
Making your own garam masala is really an act of reclaiming something. Commercial spice blends exist for convenience, and convenience is genuinely valuable. But garam masala is one of those foundational elements of South Asian cooking that carries real meaning — it's a record of where a family comes from and what they cook. When you make it yourself, you're not just making something fresher and more flavorful. You're making something that's actually yours.